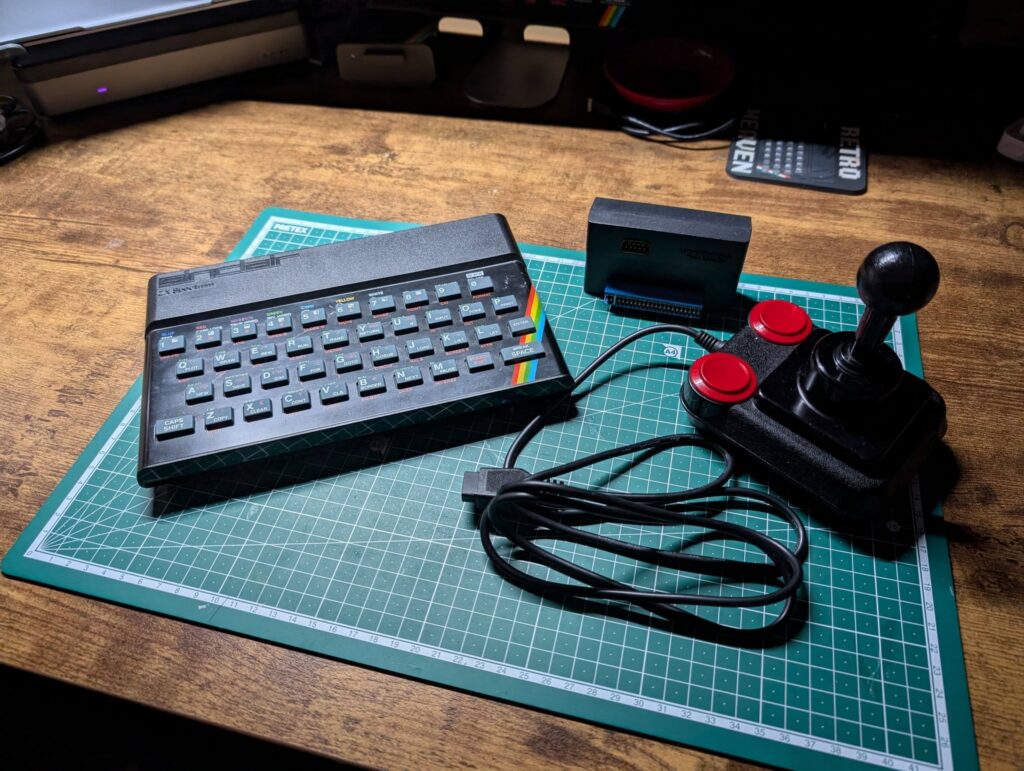
I recently picked up this Kempston Competition Pro joystick on eBay for £20. It was listed for spares and repairs, so I couldn’t resist buying it to restore and add to my Sinclair collection. I never had one of these as a kid—back then, I used the Protek/Quickshot pack, which emulated the 5, 6, 7, and 8 cursor keys. Getting an original Kempston to play games on original hardware feels like a real bonus.
When I first tested the joystick, neither the fire buttons nor the left direction registered at all. I took it apart for a quick teardown and gave it a good clean with contact cleaner. While this successfully fixed the fire buttons, the left movement is still completely unresponsive.
Since the contacts were clean, the next step was to test continuity between the DB9 connector and the internal contact points. With the female connector facing me, I mapped out the pinout using a multimeter. I attached one probe to the ground line (pin 8) and used the second probe to check pins 1 through 5 while moving the joystick up, down, left, right, and pressing fire to confirm the correct layout. This process was repeated for each pin creating the following wiring guide.
| Joystick Position | Wire Colour | Pin No. |
|---|---|---|
I ordered the replacement parts from Retroleum, and as always, Phil Rushton ensured super-fast delivery. The Bill of Materials (BOM) for this project consisted of:
| Item | Cost |
|---|---|
| Total |
Hi, this is a comment.
To get started with moderating, editing, and deleting comments, please visit the Comments screen in the dashboard.
Commenter avatars come from Gravatar.